Version 1.0 - Last Updated: 08 Jul 2025
Change of Circumstance and Correction notifications
Create an attendance correction
You should create an attendance correction if you’ve confirmed in error that a student is in attendance or has never attended.
When you create an attendance correction, the system automatically completes in the academic year, student details, course details, and change details. These fields will be greyed out and you cannot edit them.
If you originally marked the student as in attendance, with an A code in the Attendance Confirmation column, the attendance correction will automatically change this to D, for never attended.
If you originally marked the student as never attended, with a D code in the Attendance Confirmation column, the attendance correction will automatically change this to A, for in attendance.
To create an attendance correction.
- Go to the SIS Home page and select Short Course Applications.
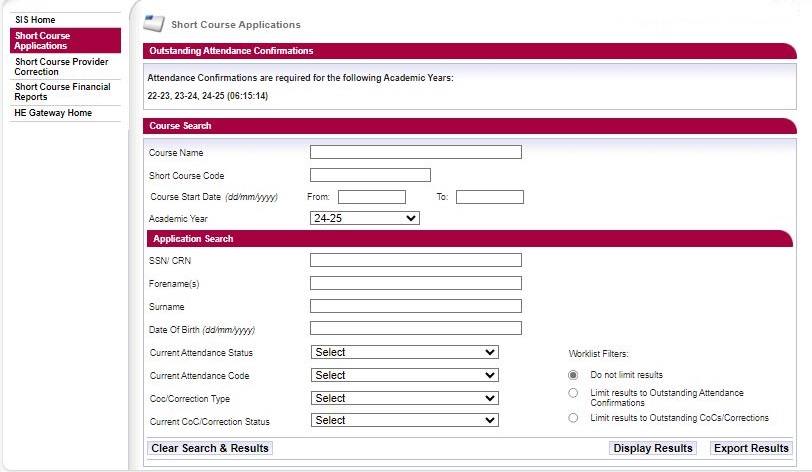
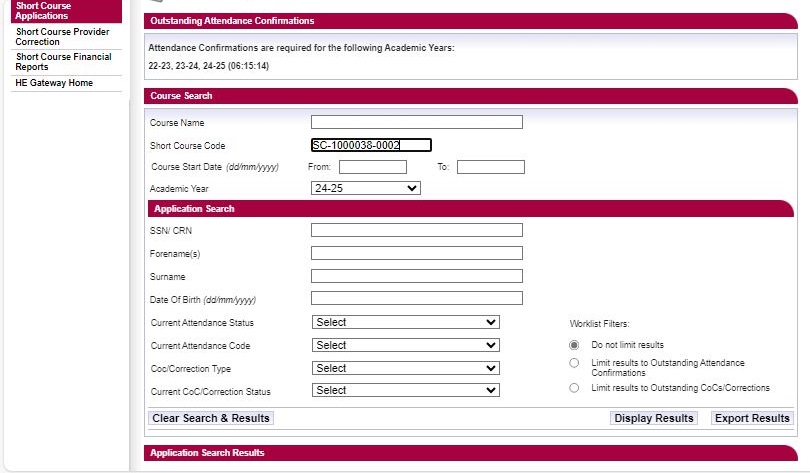
- Use the Course Search to bring up a list of students on the course. You can also use the Application Search to find a specific student.
- Enter your search criteria, then select Display Results.
- From the Application Search Results page select the Create button for the relevant student. This will open the Change of Circumstance or Correction page.
- Select Attendance Correction from the Change Type dropdown menu.
- You must select a contact for the correction. This will be a registered person at your university or college whom we can contact about this CoC.
- Once you’ve entered all the information, select Submit.
- We’ll then reassess the student. Following reassessment, the student will reappear in the Outstanding Attendance Confirmations list. You’ll need to submit an A code to confirm the adjustment.
Print this section