Version 0.1 - Last Updated: 08 Jul 2025
Using the HE Gateway
Maintaining HEI contacts
The HE Gateway holds a list of contacts at HEIs (universities and colleges) that use each service.
All users with more than read only access can maintain contact information for their organisation.
Each contact is assigned one or more contact roles. If we need to get in touch with someone at your university or college, we can use this list to identify the most appropriate person. We'll also send service updates and news bulletins to this list of contacts.
You should always keep your organisation’s contacts updated. An out of date contact list could lead to delays in processing payments.
If you are making changes to your university or college’s bursary contacts, remember to send a copy of the changes to bursary@slc.co.uk so we can update our internal database too.
Adding contacts
Follow these steps to add a new contact for your college or university.
Step 1 - maintain contacts
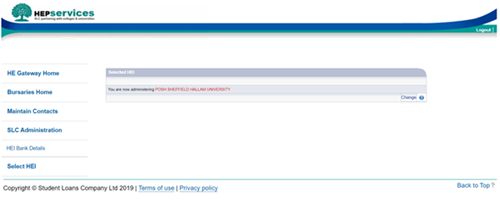
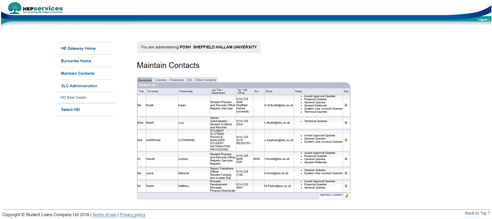
From the Home page and select Maintain Contacts. This will take you to the contact list on the Maintain Contacts page.
Step 2 - create a new contact record
Select Add New Contact. This will create and display a new, blank, contact details record.
Step 3 - provide contact information
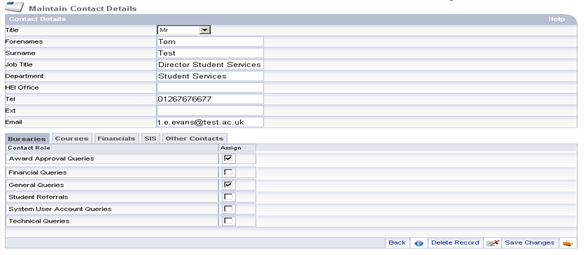
Enter details of the person who will be a new contact. The following are mandatory fields:
- Title
- Forenames
- Surname
- Job Title
- Department
- Tel
Step 4 - assign roles
Use the Assign checkboxes to select the roles the new contact should have. Deselect a role if you want to remove it. There is no limit on the number of roles you can assign.
Step 5 - Complete creation of the new contact
Select Save Changes to add the new contact to those listed for your organisation.
Select Back to return to the contact list.
Editing contacts
Follow these steps to add edit an existing contact for your college or university.
Step 1 - maintain contacts
To edit an existing contact, go to the HE Gateway Home page and select Maintain Contacts. This will take you to the contact list on the Maintain Contacts page.
Step 2 - Find the contact you want to edit
Contacts are ordered by surname. Find the contact you want to edit and select the edit icon.
Step 3 - Making changes
Make any changes you need to the existing contact details. Remember, the following are mandatory fields:
- Title
- Forenames
- Surname
- Job Title
- Department
- Tel
Step 4 - Save your changes
After you're satisfied all changes have been made, select Save Changes.
Deleting contacts
Follow these steps to delete an existing contact for your college or university.
Step 1 - maintain contacts
First, go to the HE Gateway Home page and select Maintain Contacts. This will take you to the contact list on the Maintain Contacts page.
Step 2 - Find the contact you wish to delete
Contacts are ordered by surname. Find the contact you want to delete and select the edit icon.
Step 3 - Delete the contact and confirm
Select Delete Record.
To confirm the deletion, select Save Changes.